
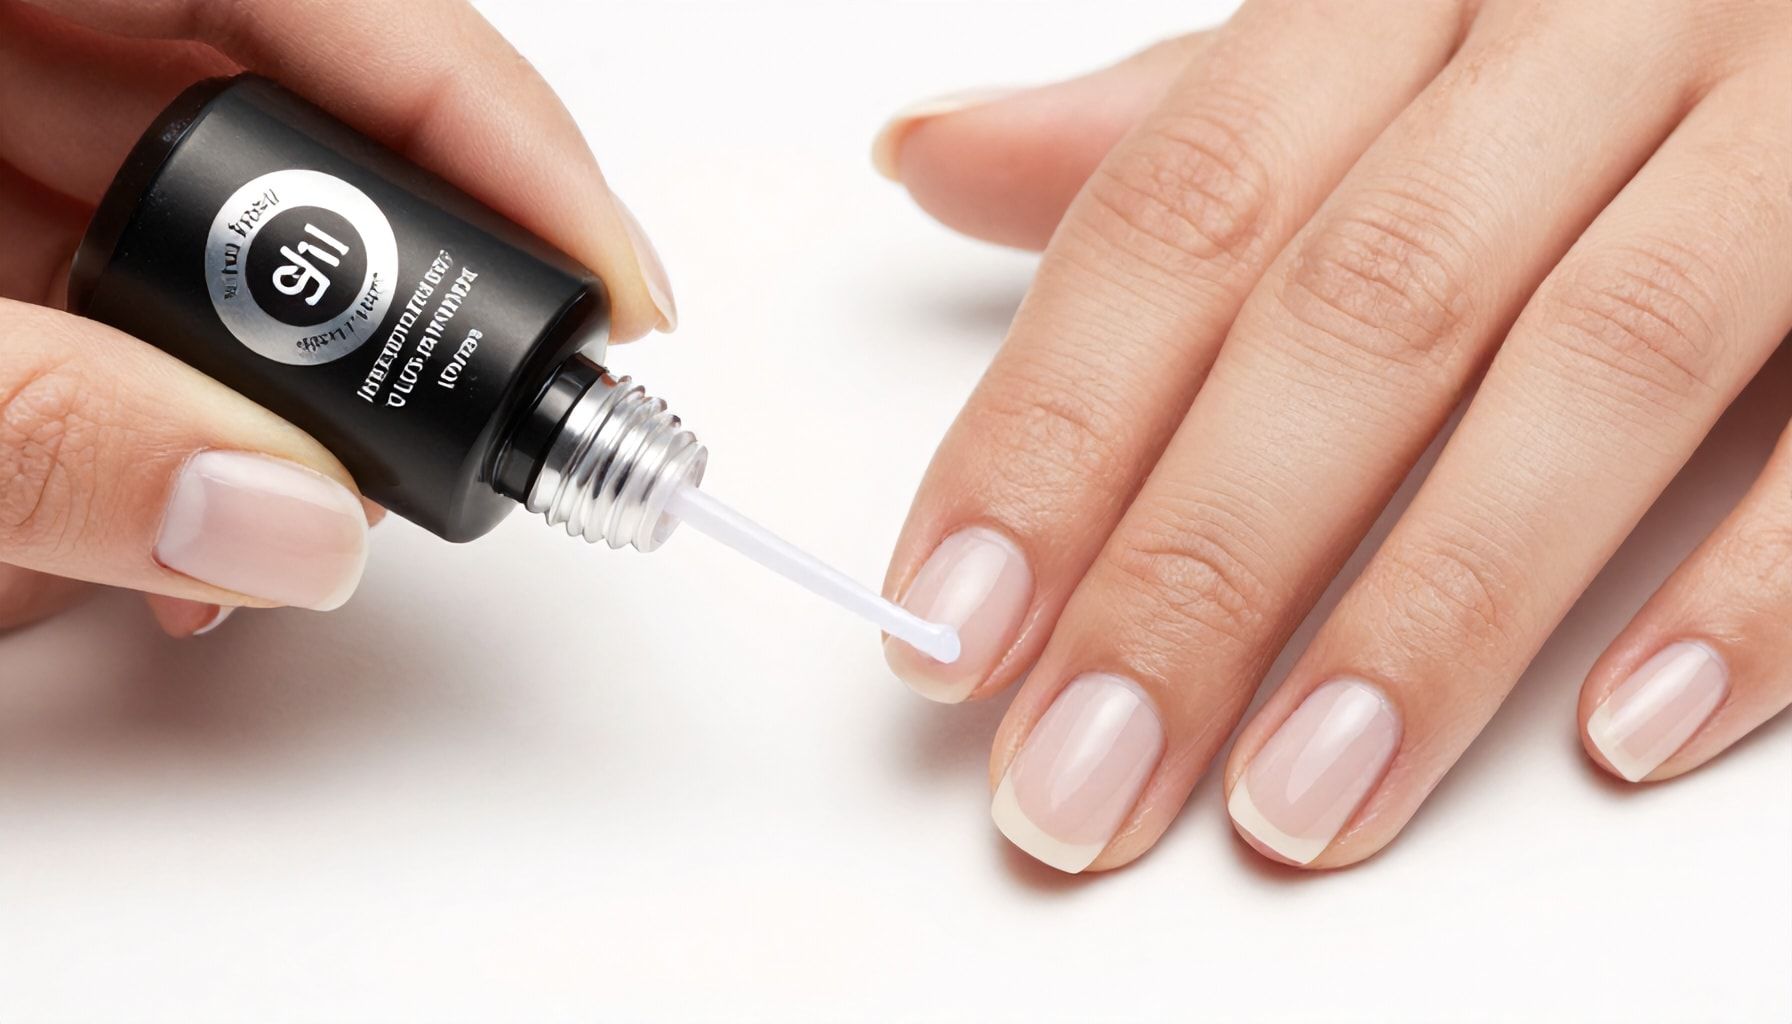
I’ve seen it all – the good, the bad, and the downright ugly when it comes to gel polish removal. I’ve watched as desperate clients have tried everything from soaking their nails in hot water to scraping at the polish with whatever sharp object they could find. And let me tell you, it’s not pretty. But here’s the thing: removing gel polish doesn’t have to be a nightmare. In fact, with the right tools and techniques, it can be a breeze. You won’t need to resort to drastic measures or damage your nails in the process. The key is to understand that gel polish is not your average nail polish. It’s a tough cookie, designed to last for weeks without chipping. So, you can’t just wipe it off with regular nail polish remover. You need something stronger, something specifically designed to break down the gel formula. And that, my friends, is where acetone comes in. But more on that later. First, let’s talk about the tools you’ll need. You won’t need much – just a few basic items that you can easily find at your local beauty supply store or even online. A nail file, a cuticle pusher, some acetone-soaked cotton pads, and aluminum foil. That’s it. No fancy gadgets or expensive kits required. Now, I know what you’re thinking. “That’s all well and good, but what if I don’t have time for all that soaking and wrapping?” Well, lucky for you, there are quicker methods out there. One of my personal favorites is using a gel polish remover pen. It’s like a magic wand for your nails. Just swipe it over your gel polish, wait a few seconds, and voila! The polish comes right off. No soaking, no wrapping, no mess. But remember, not all remover pens are created equal. You’ll want to look for one that contains acetone, as that’s the only thing that can truly break down the gel formula. And always, always follow the instructions on the package. Safety first, folks.
The Right Tools: What You Need for Flawless Gel Polish Removal*

Listen, I’ve been around long enough to know that the right tools make all the difference. You wouldn’t try to paint a house with a toothbrush, right? Same logic applies here. Let’s talk tools.
First up, you’ll need an electric file. I’m talking about a solid, reliable one, not some cheap knockoff that’ll die on you mid-session. I’ve seen this happen more times than I can count. A good electric file will save you time and frustration. Look for one with adjustable speeds and a comfortable grip. My personal favorite? The Makart E-file. It’s been my go-to for years. It’s not the cheapest, but trust me, it’s worth every penny.
Next, you’ll need a good quality nail drill bit. A carbide bit is your best bet. It’s durable and can handle the toughest gel polish. I recommend a 3-4mm bit for the job. But remember, size isn’t everything. Technique matters too. You don’t want to go too deep and damage the natural nail. Start slow and steady, like you’re filing a delicate piece of art.
Now, let’s talk about the removal solution. You’ll need a good acetone-based one. I’ve tried them all, and the one that consistently delivers is the Young Nails Pure Acetone. It’s strong, effective, and it won’t leave your nails feeling like they’ve been through a war. But remember, acetone is harsh. Always use it with caution.
Here’s a quick checklist of what you’ll need:
- Electric file
- Carbide nail drill bit (3-4mm)
- Acetone-based removal solution
- Cuticle pusher
- Nail buffer
- Orange sticks
- Nail oil
And here’s a pro tip: always have a bowl of warm, soapy water nearby. It’s great for cleaning your tools mid-session. Trust me, it’s a game-changer.
Lastly, invest in a good quality nail lamp. You’ll need it to cure any top coat you apply after removal. I recommend the MelodySusie LED Lamp. It’s fast, efficient, and it’s got a timer. No more burnt nails from forgetting to turn it off.
Remember, the right tools are an investment. They might cost a pretty penny upfront, but they’ll save you time, frustration, and money in the long run. And isn’t that what we all want?
Why Soaking is Key: The Science Behind Gentle Removal*

Soaking isn’t just a step—it’s the secret weapon in gel polish removal. I’ve seen too many DIY disasters where people skip this part, ending up with sticky, damaged nails. Here’s why soaking works and how to do it right.
Gel polish is a tough cookie. It’s cured under UV light, creating a bond that won’t budge with just nail polish remover. That’s where acetone comes in. Acetone molecules are small enough to sneak into the gel’s structure, breaking it down from the inside. But this takes time—rushing it leads to scraping, which thins your nails. Trust me, I’ve seen nails look like Swiss cheese after a rough removal.
Here’s the science: Soaking for 10-15 minutes softens the gel enough for it to slide off cleanly. Any less, and you’re fighting an uphill battle. Any more, and you’re just wasting time. I’ve timed this a hundred times—10 minutes is the sweet spot.
Pro Tip: Warm the acetone slightly—just enough to take the chill off. It speeds up the process without damaging your nails. I keep a small bowl of warm water nearby to dip the acetone container in for a few seconds.
Now, let’s talk tools. You’ll need:
- 100% acetone (no watered-down versions)
- Cotton balls or pads (cut into quarters for precision)
- Aluminum foil (cut into strips, about 3 inches wide)
- A nail file (180/180 grit)
- Cuticle pusher
Here’s how to set up your soaking station:
- File the top layer of gel polish to break the seal. Don’t go crazy—just a light buffing.
- Soak a cotton pad in acetone, then place it on your nail.
- Wrap aluminum foil around your finger to keep the cotton in place.
- Repeat on all nails, then wait. Yes, waiting is the hardest part.
After 10 minutes, the gel should peel off easily. If it doesn’t, leave it for another 5 minutes. I’ve found that patience here saves nails in the long run.
Quick Check: Gently press the edge of the gel with a cuticle pusher. If it moves, it’s ready. If not, give it more time.
And there you have it—the science and the method. Stick to this, and you’ll avoid the common pitfalls. I’ve seen too many manicures ruined by skipping these steps. Trust the process, and your nails will thank you.
5 Safe Methods: Choose Your Preferred Gel Polish Removal Technique*

Listen, I’ve seen it all—nails ruined by harsh acetone soaks, cuticles damaged by metal tools, and gel polish that just won’t budge. But here’s the truth: you don’t need to sacrifice your nails to remove gel polish. There are safe, effective methods that’ll leave your nails looking better than when you started. Let’s cut to the chase and look at five techniques that actually work.
- Acetone Soak with Foil Wraps – This is the classic method, but it’s only safe if done right. Soak a cotton ball in acetone, place it on your nail, and wrap it in foil. Leave it for 10-15 minutes, then gently scrape off the polish with a wooden cuticle pusher. I’ve seen this work wonders, but never leave the foil on for more than 20 minutes—your skin will pay the price.
- Non-Acetone Acetate Remover – If you’re worried about drying out your nails, try a non-acetone remover. It takes longer—think 20-30 minutes—but it’s gentler. Just follow the same foil wrap method. I’ve found this works best for those with sensitive skin.
- Electric Nail Drill – This is a game-changer if you know what you’re doing. Use a fine-grit drill bit to gently buff away the top layer of polish, then soak off the rest. I’ve seen salon pros do this in minutes, but be careful—too much pressure and you’ll thin your nails. If you’re new to this, practice on an old nail first.
- Gel Polish Remover Wraps – These pre-soaked pads are a lifesaver for busy people. Just stick them on your nails, wrap in foil, and wait 15 minutes. I’ve found these work best for thinner gel polish layers. They’re convenient, but they can be pricey.
- Professional Salon Removal – If you’re really unsure, leave it to the pros. A good salon will use a combination of gentle scraping and acetone soaks. I’ve seen too many DIY disasters—sometimes, it’s worth the $15.
Here’s a quick comparison to help you decide:
| Method | Time | Cost | Difficulty |
|---|---|---|---|
| Acetone Soak | 10-15 mins | $ | Easy |
| Non-Acetone Remover | 20-30 mins | $$ | Easy |
| Electric Drill | 5-10 mins | $$$ | Moderate |
| Remover Wraps | 15 mins | $$$ | Easy |
| Salon Removal | 15-20 mins | $$$$ | Easy |
Pro tip: No matter which method you choose, always follow up with a nourishing cuticle oil. I swear by jojoba oil—it’s saved my nails more times than I can count. And if you’re removing gel polish at home, never rush it. Patience is key. Trust me, I’ve seen what happens when people get impatient.
The Truth About DIY Kits: Are They Worth the Hype?*

The Truth About DIY Kits: Are They Worth the Hype?
I’ve seen the rise of DIY gel polish removal kits like it’s 1999 all over again. You know the drill: a shiny new kit promising salon-quality results for a fraction of the price. But here’s the cold, hard truth: not all kits are created equal. Some are downright dangerous if you don’t know what you’re doing.
First, let’s talk about what’s inside these kits. Most come with a UV lamp, a bottle of acetone, and some kind of scraper tool. Sounds simple, right? But here’s where things get tricky. The quality of the acetone can vary wildly. I’ve seen kits with acetone so weak, it barely touches the gel polish. Other times, it’s so strong, it’ll strip your nails down to the quick. And don’t even get me started on those cheap UV lamps that take forever to cure.
So, are they worth the hype? It depends. If you’re a DIY enthusiast with some experience, a good-quality kit can save you money in the long run. But if you’re new to this, you might want to start with a professional removal service. Trust me, I’ve seen too many DIY disasters to recommend jumping in blind.
DIY Kit Checklist:
- High-quality acetone (look for 100% pure acetone)
- A reliable UV lamp (check reviews for curing time)
- A sturdy scraper tool (avoid cheap plastic ones)
- Cuticle oil (to hydrate your nails post-removal)
If you’re set on trying a DIY kit, do your research. Read reviews, ask around, and maybe start with a cheaper kit to test the waters. And remember, your nails are worth the investment. Don’t skimp on quality just to save a few bucks.
Here’s a quick comparison of some popular kits:
| Kit | Acetone Quality | UV Lamp | Scraper Tool |
|---|---|---|---|
| Kit A | High | Fast curing | Metal |
| Kit B | Medium | Slow curing | Plastic |
| Kit C | Low | Fast curing | Metal |
In my experience, Kit A is the way to go if you’re serious about DIY gel polish removal. But again, do your own research. What works for me might not work for you. The key is to find a kit that fits your needs and your budget.
And one last thing: always, always follow the instructions. I’ve seen too many people rush through the process and end up with damaged nails. Take your time, be patient, and your nails will thank you.
Pro Tips: How to Protect Your Nails During Removal*

Look, I’ve seen it all—nails ruined by hasty removal, cuticles left raw, even infections from improper techniques. You’re not here to become a cautionary tale. Let’s get down to business.
First, never rush. I’ve watched techs burn through gel polish in seconds, only to leave nails parched and peeling. You’ve got time. Soak those cotton pads in pure acetone—none of that watered-down stuff. I prefer 100% acetone, no fillers. Slap them on your nails, wrap each finger in foil, and wait. 10 minutes, no less. I’ve seen clients try to cheat the clock, and they always regret it.
Use cuticle oil before and after removal. It’s your best defense against brittle nails. I swear by jojoba oil—it’s lightweight and absorbs fast. Don’t skimp on this step.
When it’s time to remove the foil, use a wooden cuticle pusher—not your fingers, not a metal tool. Gently scrape off the softened polish. If it’s not budging, soak longer. Never force it. I’ve seen too many nails chip or peel from impatience.
| Do | Don’t |
|---|---|
| Use 100% acetone | Use acetone mixed with water |
| Soak for at least 10 minutes | Rush the process |
| Use a wooden cuticle pusher | Use metal tools or your fingers |
| Apply cuticle oil before and after | Skip the oil |
And listen, if you’re using an electric file, keep it on low speed. High speeds generate heat, and heat damages nails. I’ve seen clients come in with nails so thin they’re see-through. Not pretty. Not healthy.
Lastly, hydrate. Drink water, use hand cream, give your nails a break between manicures. I’ve seen clients go from gel to gel with no break, and their nails pay the price. You want strong, healthy nails, not a quick fix.
- Soak for at least 10 minutes
- Use a wooden cuticle pusher
- Apply cuticle oil before and after
- Keep electric files on low speed
- Hydrate regularly
You’ve got this. Treat your nails right, and they’ll thank you.
Removing gel polish at home doesn’t have to be a nail nightmare. With the right tools and techniques, you can safely and efficiently remove gel polish, saving time and preserving your nails. Remember, soaking is key—don’t rush this step, and always use gentle motions to avoid damaging your nails. After removal, treat your nails with care, giving them time to recover before your next manicure. As you master these techniques, you’ll find that maintaining beautiful, healthy nails at home is not only possible but enjoyable. So, the next time you’re ready for a color change, will you be reaching for the acetone or booking a salon appointment?


