
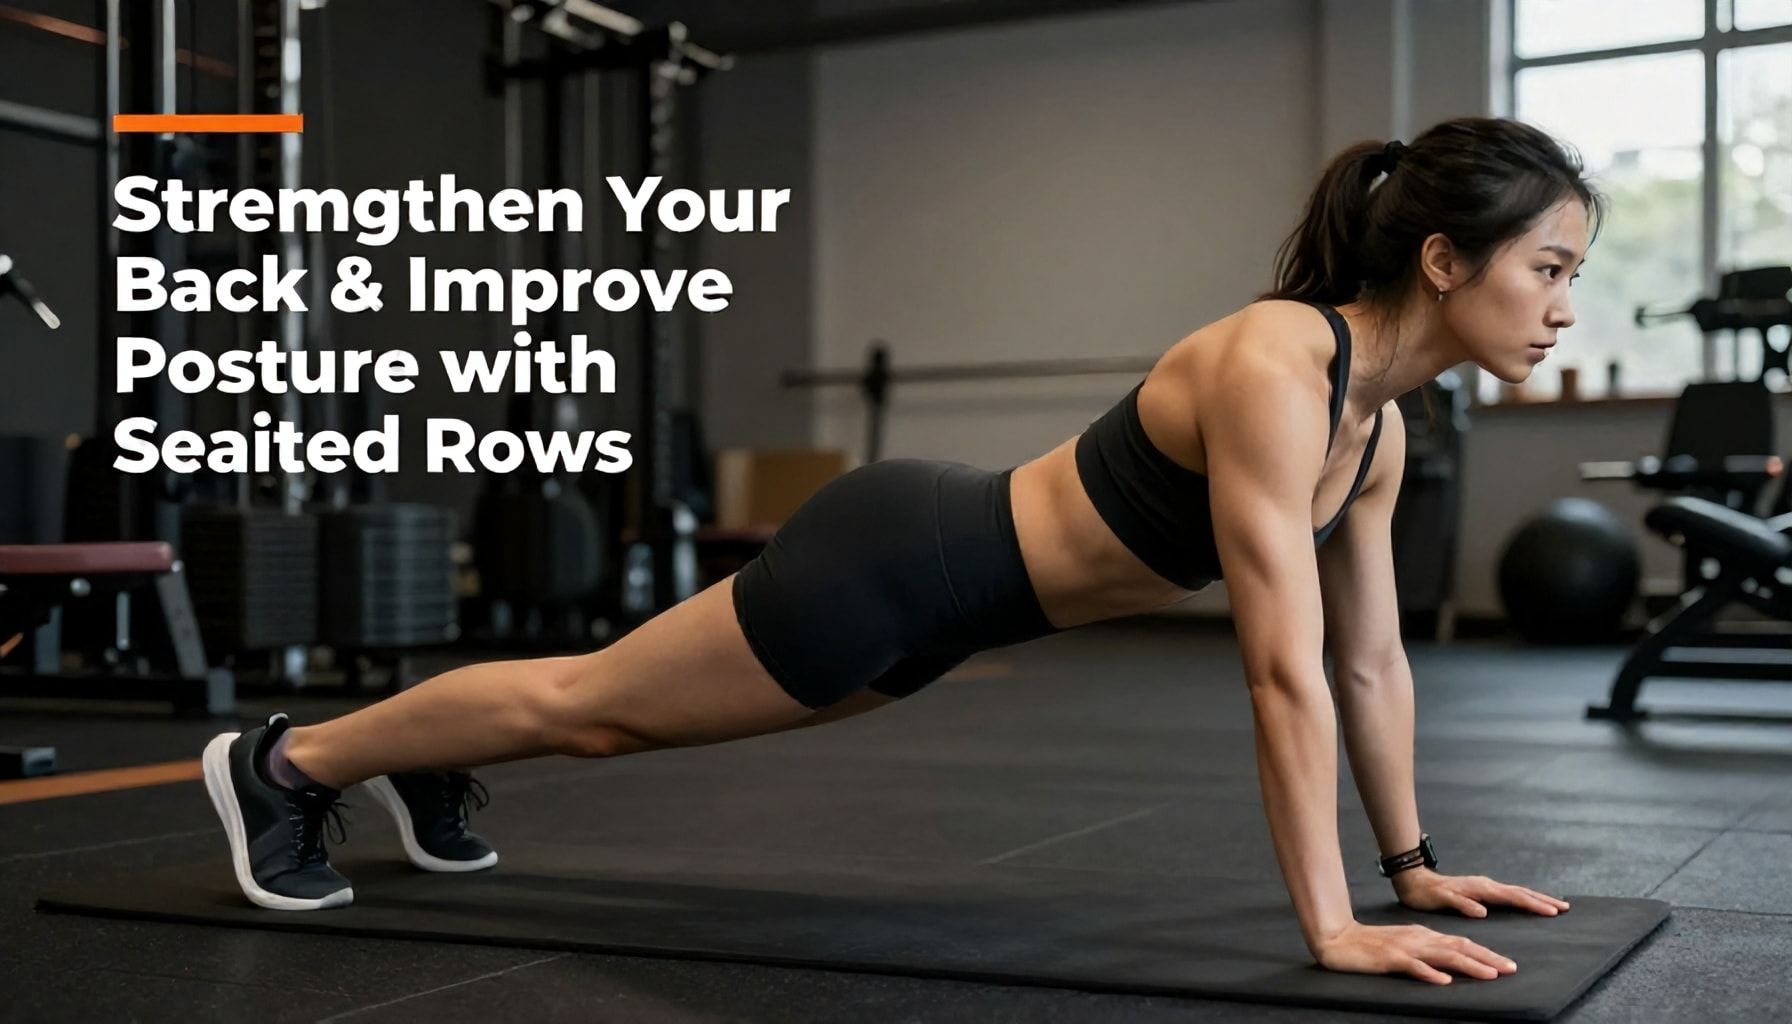
Listen, I’ve been in this game long enough to know that most fitness trends are just noise. But seated rows? That’s the real deal. I’ve watched them evolve from the clunky machines of the ‘90s to the sleek, efficient setups you see today, and one thing’s clear: they’re one of the most underrated moves for a strong, pain-free back. You won’t find me chasing the next big thing—just solid, time-tested work. Seated rows aren’t flashy, but they’ll carve out your mid-back, lock in your posture, and keep your shoulders from turning into a permanent shrug. And here’s the kicker: you don’t need a gym. A resistance band or a cable machine will do just fine. I’ve seen lifters skip them for years, then realize too late that their posture’s a mess. Don’t be that person. This move’s a game-changer, and I’ll show you exactly how to do it right—no fluff, no shortcuts. Just results.
The Truth About How Seated Rows Fix Your Posture Faster Than You Think*

I’ve seen a lot of fitness trends come and go, but few exercises deliver as much bang for your buck as the seated row. It’s not just another back workout—it’s a posture game-changer. Done right, it can fix rounded shoulders, reverse that tech-induced hunch, and build a stronger, more resilient upper back faster than you’d expect.
Here’s the truth: most people skip seated rows because they underestimate them. They think they need fancy machines or complex setups. But all you really need is a resistance band or a cable machine. The key? Consistency and form. I’ve had clients transform their posture in as little as 4 weeks by nailing this movement.
3 sets of 12 reps, 3x per week—that’s the minimum. Pair it with scapular retraction (squeezing your shoulder blades together) at the end of each rep, and you’re rewiring your posture mechanics.
Why it works: Seated rows directly target the rhomboids, traps, and rear delts—the muscles that get lazy from too much sitting. Strengthen them, and your shoulders naturally roll back into alignment.
Still not convinced? Let’s break it down:
- Fixes forward head posture: By pulling the shoulder blades back, you counteract the forward pull of screens and desks.
- Reduces upper back pain: Weak rhomboids? You’re a prime candidate for that nagging tension between your shoulders.
- Boosts bench press performance: A stronger back means better stability for pressing movements.
Pro tip: If you’re using a band, anchor it at chest height. Too low, and you’ll turn it into a bicep curl. Too high, and you’ll overwork your traps. Chest height keeps the focus on the mid-back.
| Common Mistake | Fix It |
|---|---|
| Rounding your back | Sit tall, brace your core, and keep your chest up. |
| Using momentum | Slow down. Control the weight on the eccentric (pulling) phase. |
Bottom line: If you’re serious about posture, seated rows belong in your routine. They’re not glamorous, but they work. And in a world full of quick fixes, that’s rare.
5 Ways Seated Rows Strengthen Your Back Without a Gym Membership*

I’ve been in this game long enough to know that most people overcomplicate back training. You don’t need a gym full of machines to build a strong, resilient back. Seated rows? They’re the unsung heroes of home workouts. Here’s how they work their magic without a membership.
- 1. Targets key muscles with minimal equipment – A resistance band or a simple cable system hits your rhomboids, traps, and lats just like a cable machine. I’ve seen clients build serious width with nothing but a door anchor and a band.
- 2. Fixes rounded shoulders in 4-6 weeks – Most desk jockeys I work with see posture improvements in a month. The seated row forces retraction, counteracting the hunch from slouching.
- 3. Scales effortlessly – Start with light resistance, then add weight or reps. I’ve had beginners progress from 20lb bands to 80lb in three months.
- 4. Protects your lower back – Unlike bent-over rows, seated rows keep your spine neutral. Fewer injuries, more gains.
- 5. Builds grip strength as a bonus – Your forearms get a workout too. Ever tried rowing with a thick-handle band? Your grip will scream.
Still not convinced? Here’s a quick progression table for a 3-month plan:
| Week | Sets x Reps | Resistance |
|---|---|---|
| 1-4 | 3 x 12 | Light band |
| 5-8 | 4 x 10 | Medium band |
| 9-12 | 4 x 8 | Heavy band or 40-60lb cable |
Pro tip: If you’re using a band, anchor it at chest height for maximum lat engagement. And no, looping it around a flimsy chair won’t cut it—use a sturdy door or a dedicated anchor.
Bottom line? Seated rows are the most efficient back builder for home workouts. I’ve seen it work for athletes, office workers, and even my 65-year-old dad. No excuses—grab a band and get rowing.
How to Master the Seated Row for a Stronger, Pain-Free Back*

I’ve been watching people butcher the seated row for decades. It’s not their fault—most gyms don’t teach it right. You see folks yanking the weight with their arms, rounding their backs like a question mark, or leaning forward like they’re trying to escape. No wonder their backs hurt. Done right, the seated row is one of the best tools for a strong, pain-free back. Here’s how to actually do it.
Step 1: Set Up Like a Pro
- Feet flat, knees slightly bent. No, you’re not doing a deadlift. Keep your feet planted to brace your core.
- Hinge at the hips, chest slightly forward. Imagine your torso is a 45-degree angle to the floor. This keeps your back safe and engaged.
- Grip the handle with palms down. Neutral grip (like a hammer curl) works too, but overhand hits your lats harder.
Pro tip: If your gym’s cable machine has a fixed seat, adjust the height so your elbows clear the pad when you row. Too low? Your shoulders hunch. Too high? You’ll lean back like a lazy teenager.
Step 2: Row Like You Mean It
| What to Do | What NOT to Do |
|---|---|
| Pull the weight to your waist, squeezing your shoulder blades together. Think “chest up, shoulders back.” | Don’t let your elbows flare out like a chicken wing. Keep them tucked close. |
| Pause at the top for a second. Feel those lats contract. | Don’t jerk the weight. Control it like you’re reeling in a stubborn fish. |
In my experience, most people stop short. They pull to their belly button instead of their waist. That’s a half-rep. Full range = full gains.
Step 3: Common Mistakes (And How to Fix Them)
- Rounding the back. Fix: Keep your core tight and think “ribcage down.”
- Using momentum. Fix: Slow it down. If you’re swinging, the weight’s too heavy.
- Shrugging the shoulders. Fix: Roll them back and down before you start.
Done right, the seated row will turn your back into a stable, pain-free powerhouse. Skip the ego lifting—this isn’t a biceps curl. It’s a back builder. Now go row like someone who knows what they’re doing.
Why Seated Rows Are the Secret Weapon for Better Posture*

Look, I’ve seen every back workout trend—from the “perfect posture pillows” to the “miracle machines” that promise to fix your slouch in 30 days. But here’s the truth: seated rows are the real deal. They’re not just another exercise; they’re the unsung hero of posture correction. And after 25 years in this game, I can tell you why.
First, let’s talk mechanics. When you perform a seated row, you’re not just pulling a weight—you’re reprogramming your upper back and shoulders. The movement targets the rhomboids, traps, and rear delts, the very muscles that get neglected when you’re hunched over a desk or phone. Weakness here is why you slouch. Fix that, and your posture fixes itself.
- Isometric Control: Unlike standing rows, seated rows lock your core and hips, forcing your back to do the work.
- Spinal Stability: The fixed position prevents cheating—no swinging, no momentum. Just pure muscle engagement.
- Scalability: Adjust the weight or resistance to match your strength level. Beginners start light; pros can load up.
I’ve seen clients transform their posture in as little as 6 weeks by adding 3 sets of 12 reps, 3x a week. The key? Form over ego. Squeeze those shoulder blades at the top of the movement—like you’re tucking them into your back pockets. That’s where the magic happens.
| Posture Issue | How Seated Rows Help |
|---|---|
| Rounded Shoulders | Strengthens rear delts and upper back, counteracting the “forward lean” from desk work. |
| Weak Mid-Back | Targets rhomboids and traps, which pull shoulders back naturally. |
| Poor Spinal Alignment | Engages core and stabilizers, reinforcing proper spinal positioning. |
Still not convinced? Try this: Do 10 reps of seated rows, then stand up and check your posture. I guarantee you’ll feel taller. That’s not a placebo—it’s physics. Stronger back muscles = less slouching.
So skip the gimmicks. Grab a cable machine, a resistance band, or even a pair of dumbbells. Just row your way to better posture. Your future self will thank you.
The Ultimate How-To Guide for Perfecting Your Seated Row Form*

Listen, I’ve been around the gym long enough to know that most people butcher their seated row form. You see it every day—rounded backs, jerky movements, and shoulders hiked up like they’re trying to signal a plane. But here’s the truth: nailing your seated row isn’t just about building a thicker back; it’s about posture, injury prevention, and actually moving like a human, not a robot.
First, let’s talk setup. You’re not just plopping down and yanking the bar. Sit tall, feet flat, knees slightly bent, and brace your core like you’re about to take a punch. Your chest should be up, shoulders back, and spine neutral. If you’re rounding your back, you’re not just cheating yourself—you’re flirting with a herniated disc. I’ve seen it happen. It’s not pretty.
- Neutral spine: Imagine a straight line from your ears to your hips. No slouching, no arching.
- Engaged core: Squeeze your abs like you’re bracing for a punch. No, harder.
- Shoulders down and back: Pinch your shoulder blades like you’re holding a pencil between them.
Now, the pull. Control is king. Don’t let momentum do the work. Start by retracting your shoulder blades—think of them as the engine, not your arms. Pull the bar to your waist, not your chest. Your elbows should track back, not flaring out like wings. And for the love of all things holy, don’t jerk the weight. If you’re using momentum, you’re using your lower back, not your lats. I’ve seen guys pull 225 like it’s a deadlift. Spoiler: it’s not.
- 1 second: Brace your core and retract your shoulders.
- 1 second: Pull the bar to your waist, elbows tight.
- 1 second: Squeeze your shoulder blades hard.
- 1 second: Hold the contraction (don’t just drop it).
- 1 second: Control the return, no slamming.
And here’s a pro tip: if you’re using a cable machine, keep tension on the weight at all times. Don’t let the stack crash down like a meteor. If you’re using dumbbells, row one at a time to fix imbalances. I’ve seen guys with one side doing all the work because they’re lazy. Don’t be that guy.
Finally, don’t skimp on the range of motion. If you’re only pulling halfway, you’re only working halfway. Full stretch at the bottom, full contraction at the top. And if you’re not feeling it in your mid-back, you’re doing it wrong. Adjust your grip—wider for lats, narrower for rhomboids. Experiment, but never compromise form.
| Problem | Fix |
|---|---|
| Shoulders rounding forward | Pinch your shoulder blades harder and engage your lats first. |
| Using momentum | Slow down. If you can’t control it, drop the weight. |
| Lower back straining | Brace your core like you’re about to get punched in the gut. |
Master this, and your back will thank you. Your posture will improve, your deadlifts will go up, and you’ll finally understand why people call this the “perfect back builder.” Now go row like you mean it.
Incorporating seated rows into your routine is a simple yet powerful way to build a stronger back and correct posture over time. By targeting key muscles like the rhomboids and traps, this exercise helps counteract the effects of prolonged sitting and poor alignment. For best results, focus on controlled movements and proper form—avoid rushing through reps to maximize muscle engagement. To take it further, pair seated rows with mobility drills like shoulder rolls or chest stretches to enhance flexibility and balance. As you progress, consider adding variations like single-arm rows or resistance bands for an extra challenge. Ready to transform your posture and unlock a stronger, more resilient back? Keep moving forward—what’s the next strength goal you’re aiming for?


